DBVisualizer is one of the most useful Database IDE’s available. I have used it at many different companies and for personal projects as well. I like DBVisualizer it in part because its publisher DBVis Software offers both a free version for personal use and a pro version for businesses. Unlike most free tier software, DBVis has made the decision to unlock most of the applications functionality. Allowing individuals and companies to check out what their tool can do with no immediate risk to their pocket book. What is unique about DBVisualizer is its unique ability to be database neutral.
What is unique about DBVisualizer is its ability to be database neutral. Regardless of the Database you’re using, DBVisualizer will work the same. To do this, all the application requires is a compatible database JDBC driver. Do not take my word for it. Let me show you how easy it is to download and setup a Database connection using DBVisualizer.
Installing DBVisualizer
- Click this link to go toDBVis Software download page.
- Download the executable that is compatible with your Operating System. Make sure to pick the one with the with Java VM to avoid incompatibilities or installation issues.
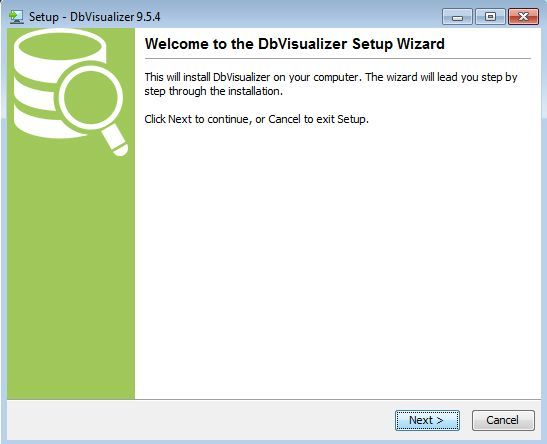
- Once the file has downloaded, go ahead and run the executable.
- Follow installation settings. During the installation steps, you will see a prompt to use the Connection Wizard. For now, click cancel. We will cover the connection wizard in the following steps on connecting to a database.
- DBVisualizer comes with a nifty DB Driver Finder tool. Go ahead and click start and let it search your system for valid JDBC drivers. When finished, click Close.
- That’s it your now installed and ready to use DBVisualizer.
Connection to a Database
Before we discuss connecting to a Database, we first need a database. So for the following steps, we will be using a test SQLite database. This database is a simple database containing three tables: Person, Address, and Phone. You can download this database from this link. Also, connecting to this database will not require a username or password.
There are two ways to create a new connection to a database
- From the menu bar click on database > Click Create Database Connection
- Right click in the Databases Connections Window > Click Create Database Connection
Using the Wizard:
- Enter In A Name For Your Database Connect. For example, name your connection Test Connection.
- Then Click Next.
- Before we can connect to our test SQLite Database, we need first to select the SQLite Driver from the list. Notice that individual drivers have a green check mark next to them. These are the drivers that the driver wizard found during installation. If the driver does not have a green check mark, it will need to be downloaded and configured. Click this link for additional drivers.
- Click Next to open up the configuration screen.
- On the settings screen enter in the SQLite database. Include the database user and password if one exists.
- To complete your setup click Finished.
Your new connection will now appear in the database tab Connection Window. To connect to your new database right-click on the connection and click connect. If your connection is successful, you will see a green check by your database. Otherwise, if you are unable to connect or the database was unavailable you will receive a red x. Typically when this happens, there will be a message somewhere on the screen telling you why the connection was unsuccessful. In most cases this happens because the connection setting was incorrect, so make sure to double check your configuration.
Further Reading
We have found these sources to be ideal for learning more about SQL and DBVisualizer:

