What is NameCheap.com?
In this tutorial, we are going to walk you through registering for PositiveSSL under their Domain Validation (DV) services. The DV service is the most basic cert provided by NameCheap and is Ideal for securing personal websites, blogs, and Facebook apps.
Here is a description of the product offered by NameCheap:
PositiveSSL is one of the most popular and inexpensive SSL certificates in the industry. This hassle-free certificate is the ideal choice for websites where the brand’s trust is already established and organization verification is not needed. It’s ideal for securing low-volume e-commerce websites.
Purchase a PositiveSSL cert
- Start by going to this link to get to the PositiveSSL product page.
- Once there click on the “Add to Cart” button.
On the shopping cart page, you have the option to increase the total number of years you would like to buy.
- Review your cart and click “Confirm Order”.
At this time you will be prompted to log in or create an account. After you log in, you will need to confirm your contact information and payment information.
- Continue filling in the required information and clicking the “Continue” button until you complete your order.
Setting up your SSL Certificate
Before you can activate your PositiveSSL, you will need to make sure you have created an RSA Key and CSR. Follow the steps for “Generating an SSL server certificate” before continuing.
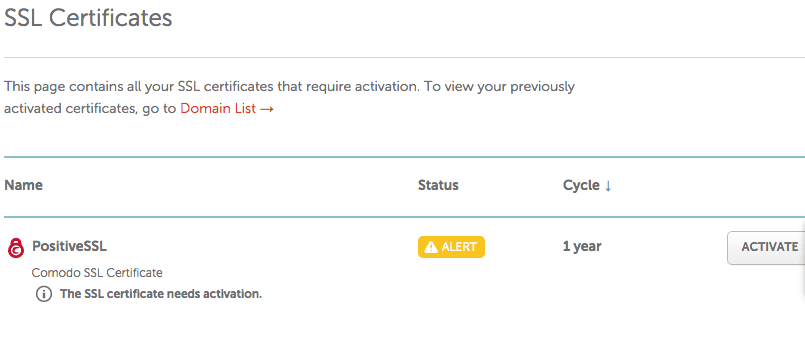
- Click the “Activate” button when you are ready to continue.
This will bring up the Activate PositiveSSL Certificate setup page:
You will need to copy all the text from your CSR file into the CSR section. If the CSR is valid, it will populate your registered domain name.
- Choose the type of web server you are running.
- If you are taking the “Domain Registration and Configuration” you will want to select “Apache, Nginx, cPanel, or Other” from the list.
- Verify your setting and click “Submit” button.
Review your CSR credentials
- If everything looks correct, click “Next” button.
- Otherwise, click the “Edit CSR” button to change your CSR settings.
Choosing a Domain Control Validation (DCV)
A Domain Control Validation (DCV) method is necessary for security purposes. The Certificate Authority uses the DCV to verify that the person placing the request owns the domain and is authorized to use it.
You have the option to validate using:
| This will require you to setup an email account that has a prefix of admin, administrator, or hostmaster @yourdomain.com. Unfortunately, there is not an option to add your own. | |
| DNS-based | Requires you to create a CNAME record via host records page, cPanel or DNS provider. |
| HTTP-based | Using this method will require you to download a file and then upload it to your domain’s root folder. I find this to be the path of least resistance. |
- Select “HTTP-based” and click “Next”.
Fill in your Company Contact Information
Company Contacts will be used to validate the identity of the business applying for the SSL certificate. If you’re applying as an individual, just enter “NA” in the Company Name field. Before continuing, make sure you enter a valid email address under Administrative Contacts. The system will send the Certificate to this information. So make sure it is valid,
- Click the “Next” button to continue.
Because we choose to validate using HTTP we need to revalidate the Primary Domain.
- Click “Confirm” to continue.
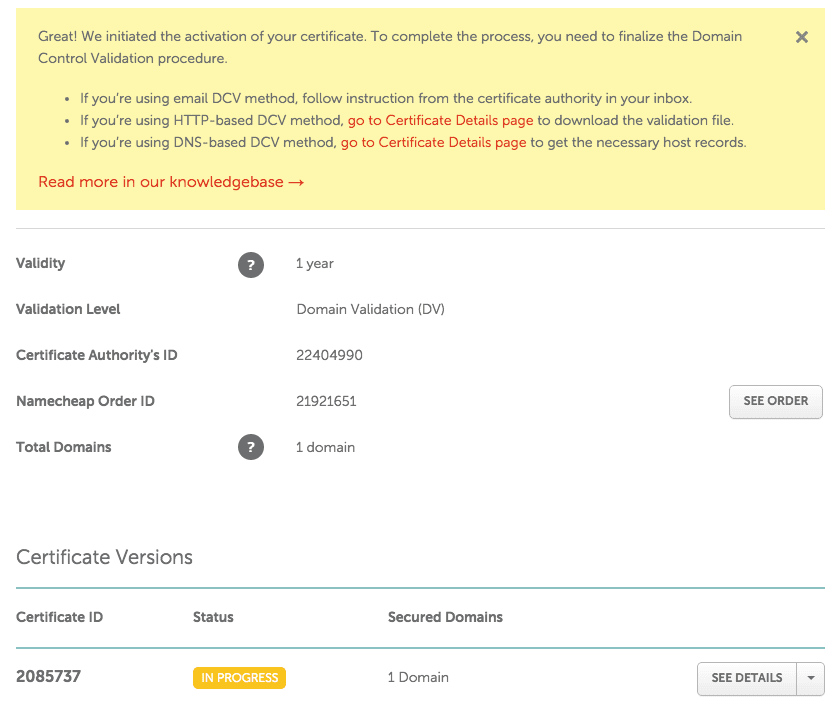
You have now activated your certificate. However, you still need to download the validation file for your server to complete the validation process.
- In the section in yellow, you will want to click on the link next to HTTP-based DVC method.
On the next page look for the section with the DCV Method in Use.
- Click on the “Edit Methods” to get the link to download the validation file.
This action will cause a popup to appear, again displaying the domain you wish to validate and a button to download the file.
- Click “Download File” to save the file to a folder on your machine.
- Go ahead and click “Done.
Upload Validation file to your Domain Web Server Directory
- Use a tool like FileZilla to upload your validation file to your web server.
- Log into your web server and place the validation file into your web server’s home folder.
For example, on AWS EC2 Linux running Apache, it will be /var/www/html. Once the file is there, the certification process will continue. This process may take a little while to complete so you will need to monitor dashboard.
Validation Complete, Certificate Issued
Once the validation process is completed the status of your certificate will become “Issued”. When this happens, your certificate is ready to use. Log into your NameCheap account and pull up the Domain List. This list will now contain an entry for your SSL Cert.
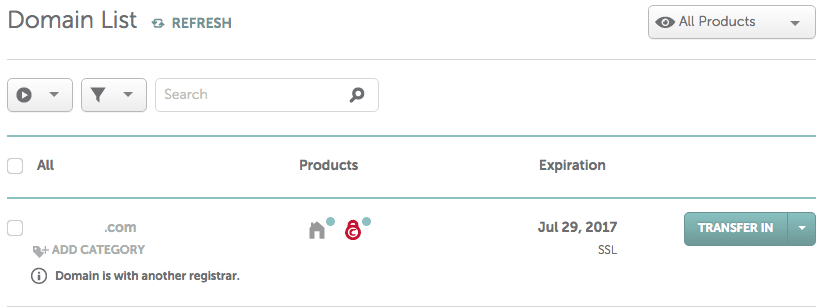
- Hover over the red lock by your domain and click “Manage” to pull up your certificate details.
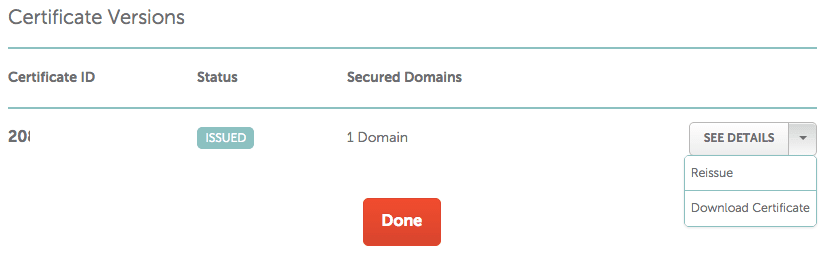
- At the bottom of the page under “Certificate Versions,” you can click on the “See Details” button to bring up the link to download your new certificate.
Now that you have your certificate you can setup your web services for HTTPS.
If you have an Apache web server, click this link to “Configure Apache for HTTPS” using your new SSL certificate.
Additional Resources
- Check out NameCheap.com.
- Check out these books:
We hope you found this information useful. To continue taking the “Domain Registration and Configuration” class click here to return to where you left off.
[sgmb id=”1″]