Get A Route 53 Domain
- Begin by login to the AWS console.
- If you do not have an account yet follow the step on “Amazon AWS Registration” to create a new account.
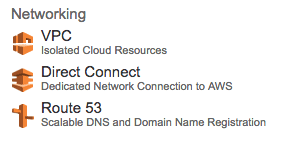
- From the Amazon Web Services Page click on Route 53 domain name registration in the networking section
- To start creating a new Domain, click on “Get started now” under Domain registration.
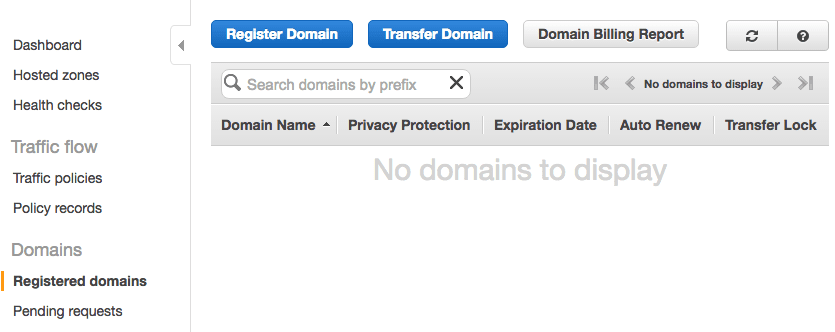
- Go ahead and click on “Register Domain”.
Choosing a Domain
The first thing you need to do is find a unique domain and choose a prefix of .com, .net, .etc..
- Enter the domain name (“your domain here” for example)
- Choose your extension (.com for instance).
- Click the “Check” button.
The check option will validate your domain choice. If it is available, you will get a green check with an “Add to Cart Button”. If the domain is unavailable, you will see a red X. Amazon will also provide you an additional list of domains with different prefixes. Keep entering domain names until you find you one like that is available.
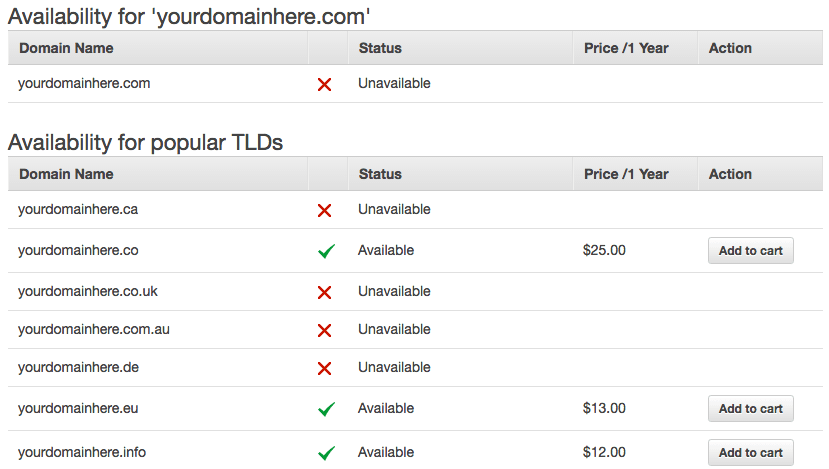
- Click the “add to cart” button next to your domain choice.
This action will add the domain to the cart on the right. Any additional domains you wish to add will also appear in the cart.
- When there are no more domains to add, go ahead and click the “Continue” button.
Enter Contact Information
- If your registrant, admin, and tech contact information are identical, enable the yes button at the top of the screen.
- Otherwise, click no for identical information. On the next step, you will be required to enter the contact information for all three contact types.
- Enter your contact Registrant, admin, and tech contact details.
- Click “Continue” button.
Verify Registration
After the contacts page, you will be taken to a verification page for you to review the data you entered.
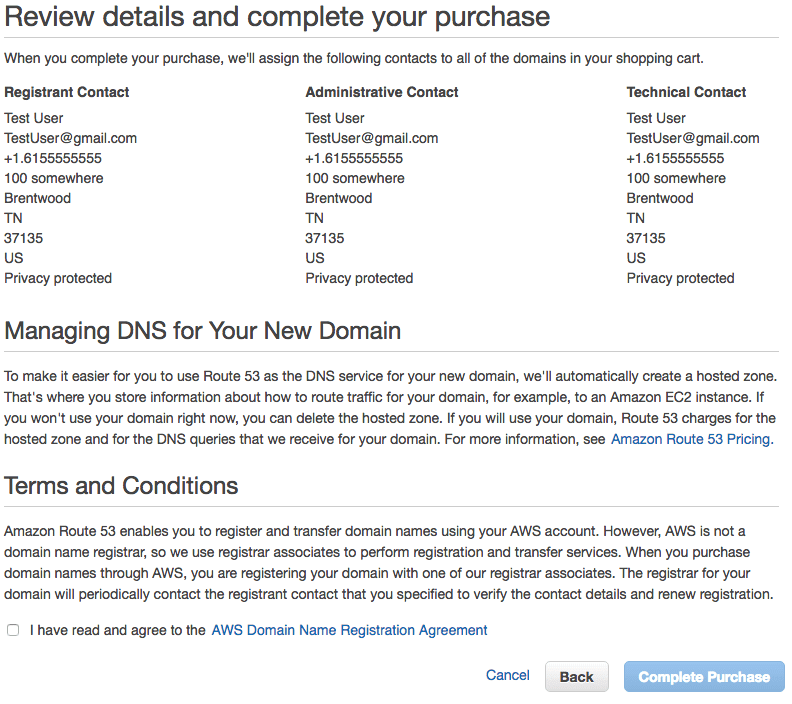
- Click “I have read and agree to the AWS Domain Name Registration Agreement”.
- Finally, click “Complete purchase” to purchase your domain.
Completing the Registration Process
Your domain registration is complete, and your domain is being set up. You will need to monitor your email for a couple of emails from AWS. One will be for email verification (if you have verified your email previously with another Amazon AWS service, then you will not receive the email confirmation email). The second email will send once the domain is completely setup.
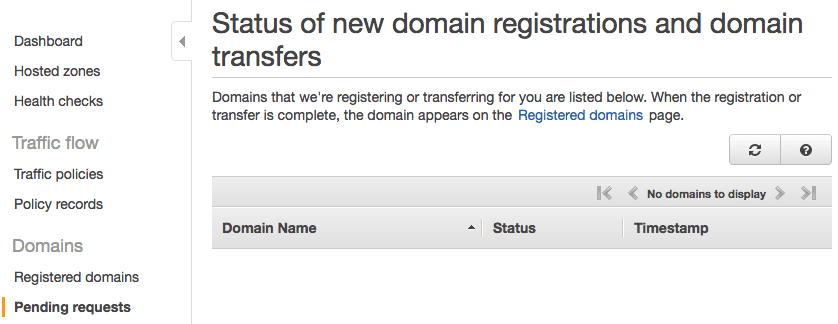
This process can take a few minutes, to a few days. You can also monitor this process from your Route 53 dashboard. Go to the AWS Route 53 pending requests page:
Managing The Domain
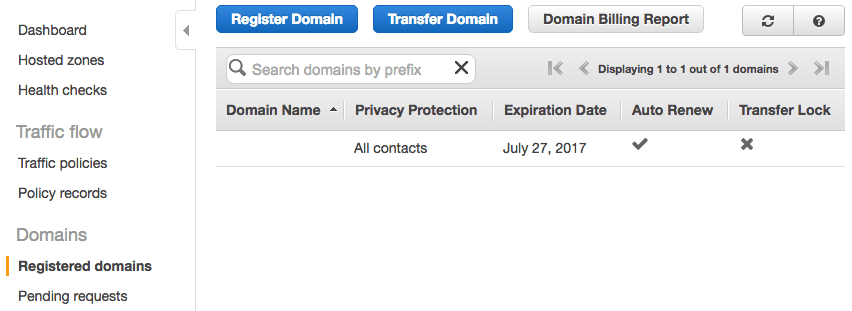
Once the domain is registered you can manage your new domain by going to the AWS Route 53 Registered Domains page:
If you have an AWS Ec2 instance follow the steps on “Setup AWS Route 53 Domain for AWS EC2” to point your new domain to your server.
Additional Resources
- Check out these books:
Hopefully, you found this information useful. To return to taking our “Domain Registration and Configuration” class click here to return to where you left off.
[sgmb id=”1″]