Begin by logging into your WordPress dashboard. Once your dashboard is displayed, look for the “Posts” option on the left sidebar and click it. It should look like this:
![]()
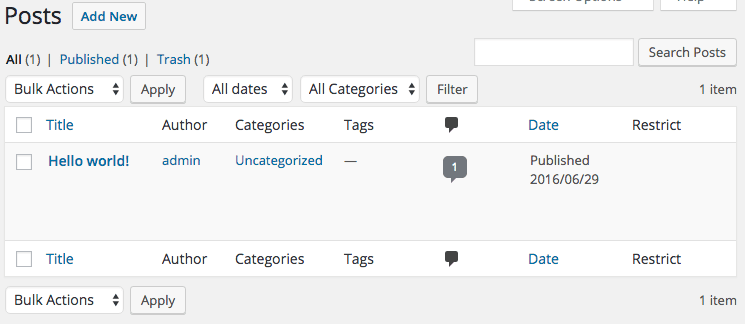
This button will bring up the “Posts” page, displaying a page listing all your available posts. It should look something like this:
Add New Posts
Your user roles will determine the extent of this list (see”Create User Accounts” for additional details). From here we can click on the “Add New” button on the top of the page. This button will bring up the Add New Post Page. You may have more options on the screen (based on the plugins you have installed). However, out of the box your “Add New Post” page should look something like this:
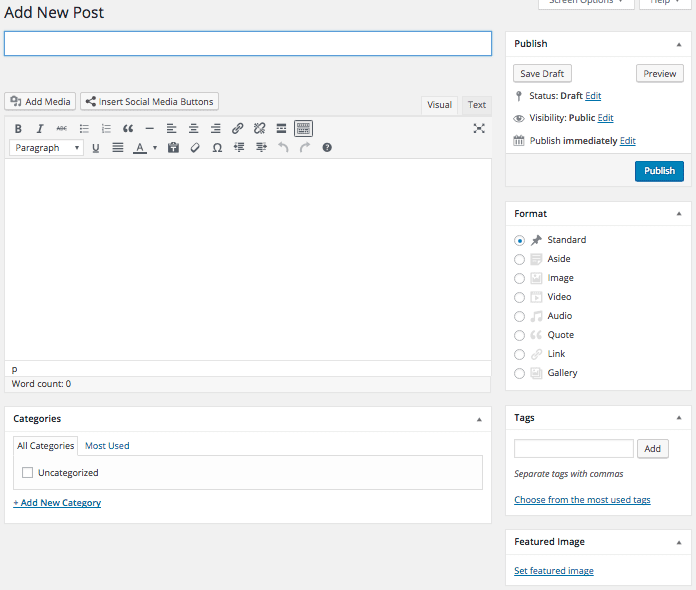
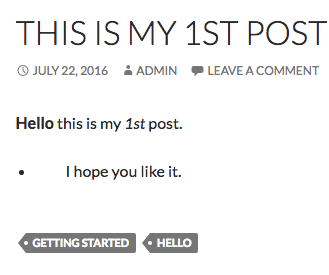
This page is chock full of information related to your post. We begin by typing the text: “This is my 1st post” into the title box. As soon as you click out of the title box, a permalink text appears. WordPress generates Permalinks as a static link to your post. By default, your WordPress setting will set your permalink with the id number of your post in the database. We can override this here by clicking the “Edit” button or by going into the dashboards “Settings” > “General” Page and changing the default. As you can see here, we have our permalink defaulting to our post title name.
![]()
Add Content
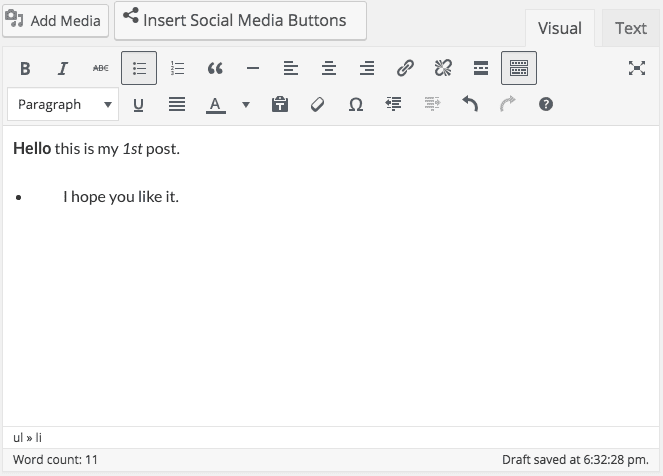
Next, we need to add some content to our post. Tab or click into the body section and enter some text like: “Hello this is my 1st post. I hope you like it.” You have a lot of styling options available to you in the editor’s menu bar. Try experiment with some of the styling options like bold and bullets to make your body look like this:
Using Categories
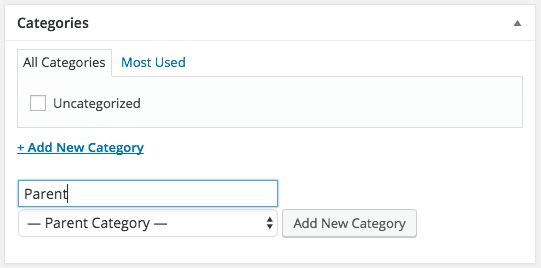
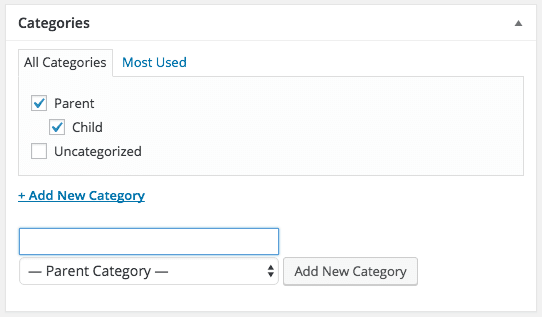
Now we need to categorize our post. We use categories to build out a form of a table of content in WordPress. This table of contents allows users to navigate your posts based on their categories quickly. By default, all WordPress instances start with one category of Uncategorized. Unfortunately, uncategorized is not very useful category. So, let’s add a new category. Click on the “+Add New Category” link. Now a window displays with a text field for our new category name, a button to add the category, and a drop-down list of parent categories in case we wish to make this category a subcategory. For now, enter a new category name of “Parent” and click “Add New Category” like so:
As soon as you clicked “Add New Category” button, Parent appeared in our list. Now let’s do it again. However, this time, change the dropdown value to “Parent”. Then enter final the category name “Child” and click “Add New Category” button. The outcome should look like this:
Using Tags
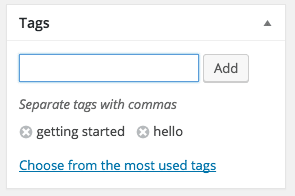
Now we need to add some tags to our post. Tags are just another way of breaking down your posts into a smaller sortable component. Unlike categories, tags do not display as a table of contents. Instead, these will appear at the top or bottom of a published post. When clicked they will bring up a listing of related posts. So let’s go ahead and add a few tags to our page. In the tag section type in “getting started, hello” (no quotes). You can add a single tag and click “Add” button. You can also add multiple tags at one time by including a comma (,) between the tags. Here is what our Tags section looks like after we add our tags:
Adding a Featured Image
The last part we want to look at is “Featured Image”. This section is where you can add a picture to your posts. Images display as either thumbnails or full images depending on your post lists display settings. So let’s click “Set Featured Image” and show the media popup.
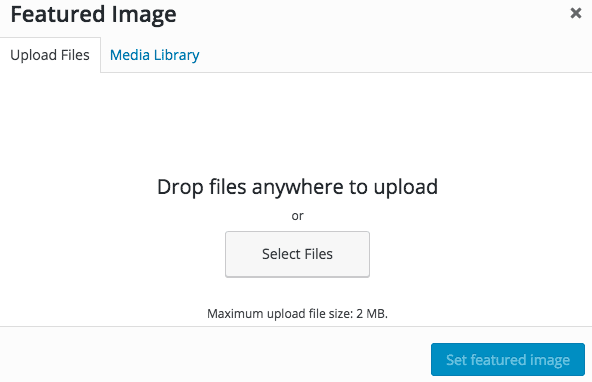
This screen gives you the ability to upload multiple files at one to your WordPress instance. Be careful that your images do not exceed the systems 2MB limit. Also be cautious of randomly pulling images off the web and using them in your posts. A lot of images may appear to be free, but in reality, have some form of copyright. So consider using stock photo sites like Dreamstime or adobe photo stock to find your images.
Media Library
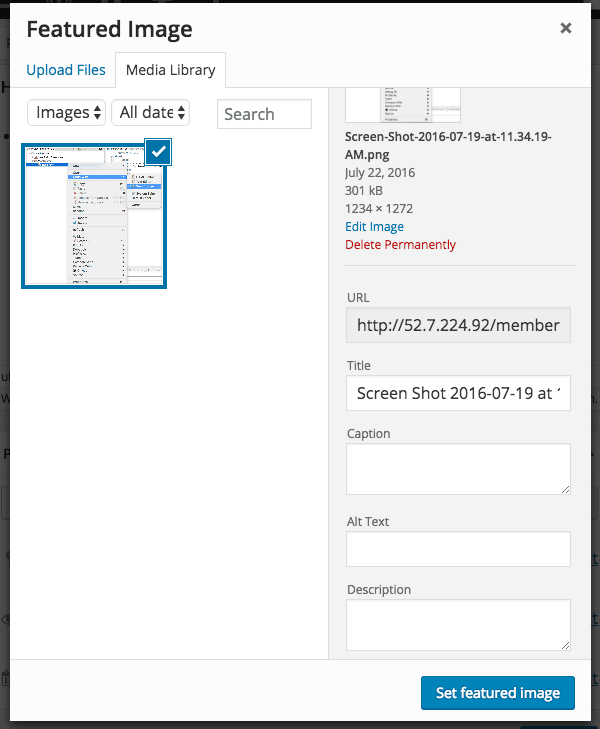
Once your image is loads, you can select it from the Media Library. Before you add your image, make sure it is at the correct resolution, or it will not display correctly. Also, make sure you fill out all of the pictures optional values. Now go ahead and click on the “Set Featured Image” button. The image is now visible in your post.
Now that you have filled out your post it’s time to publish. In the publish section go ahead and click the “Publish” button.
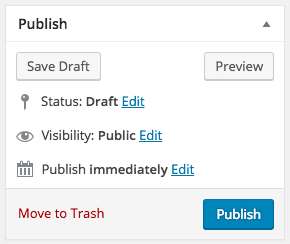
You post now live and viewable. When you open the post, you will see the tags at the bottom of the post.
Additional Resources
- Check out how to write posts at WordPress.org
- Check out these books:
We hope you found this information useful. If you are taking our “Introduction to WordPress” class click here to return to where you left off.
[sgmb id=”1″]