

Companies have been using marketing to promote their products and ideas for years. Many of you are probably familiar with marketing in the form of ads on TV, radio, and newspapers. The internet allows us the opportunity to turn these traditional forms of advertising into a more user-friendly and interactive experience. In the past, most companies created plain old brochure-like marketing pages. These were static, non-changing pages that were typically informational only.
However, over the course of time companies realize that a marketing site needs to be more interactive. Especially, in the age of YouTube, Facebook, and Twitter it takes a lot more to attract people to your site. Therefore, to build a better site requires more thought and attention to what goes into the overall design and content. This course will help you identify what content needs to be on your website. We will stick to a basic template of what is necessary on most company marketing pages. So, depending on you or your customer’s business, there may be a need for additional pages. Let’s start with a walkthrough of some questions you need to ask yourself up front. These questions will help nail down the overall design and identify what pages you will need.
What are the problems we want to solve by taking this class?:
- Why is a marketing site necessary?
- What are the requirements for a successful marketing site?
- How do I go about building a marketing site?
- What information about my company or me should I share?
- How do I ask my customers for information?
What we will cover:
- How to make a successful marketing site.
- Set up a development environment.
- Create a web project.
- Identifying what should go on your main marketing page.
- What goes on an “About” page?
- How to build questionnaires and contact pages.
- Other things to keep in mind.
Class Goal: The student will have a stand alone “marketing” website for their product/service and a contact us form.
How to make a successful marketing site
Before you start building your marketing site you need to ask yourself four basic questions:
- What exactly am I marketing? Is it a product, brand, image, or all the above. The answer to this question will vary on circumstance. Regardless, you must have a clear-cut answer to this issue before you can begin. If you do not have a clear idea of what you’re selling, how will your customers know?
- Who is my target audience? Try to keep your focus audience to a select group of individuals. The more narrowly your focus, the clearer you can tailor your message.
- How am I going to attract visitors? There are many online avenues to choose from to attract visitors. Depending on your budget, Google Adsense is a great way to advertise on search engines. Another option is to gather a list of email addresses. Then use an email service like MailChimp, to send out weekly newsletters with product advertisements or general information. You can also start a blog or visit other online forums and start up a conversation. Make sure that whichever medium you use there is always a way to link back to your marketing site.
- When should I publish my site? When to publish can be a tricky one to answer. Unfortunately, you will always be making changes to your site in one form or another. So in most cases, you want to publish as quickly as possible. Even though there may be times, it is necessary to wait and precede the launch with some announcement.
These questions may seem basic in nature, but will have a significant impact on how you build your site.
Setting Up Your Development Environment
Before you ever publish a website online, you should test out your site on a development or test system. This way you can work out all the bugs and design flaws before the public ever sees your site. Up to this point, you have learned how to install and setup an AWS server running Apache and MySQL. This server can be your development box. Although, I would recommend installing these programs onto your local system. This way you can build a local development environment separate from your server.
Install a local instance of Apache, MySQL, and PHP
Let’s look at a ways to simplify the process of setting up our development environment. To do this, we are going to use a package installer called “AMP” (Apache, MySQL, and PHP). There are many flavors of “AMP” to choose from depending on your preference and operating system. However, the naming is intentional, making it easy to identify which one is for which OS. If you’re on Windows, look at installing (WAMP), on Mac (MAMP), and on Linux (LAMP).
Follow the walkthrough for setting up WAMP on a Windows machine. This tutorial will set up WAMP similar to how LAMP is setup on your AWS EC2 Linux instance.
Install an Integrated Development Environment (IDE)
Most developers can use a simple text editor and a web browser to develop websites. This option is perfect for a small project without too many files. However, your project will likely continue to grow. At some point, it will become too vast and complex to maintain in this fashion. An IDE offers developers a friendly Graphical User Interface (GUI). These GUI’s include a collection of libraries and tools to simplify the task of developing software. If you are developing in a solely Windows environment, consider using MS Visual Studio Code. Alternatively, if you are developing on a Mac, look at Apple’s XCode. For cross platform and web development Eclipse is a great option.
Eclipse is an open source project that came out of IBM’s Java for Visual Age. This project quickly grew to be one of the largest open source IDE communities. The Eclipse framework is a form of cookie cutter IDE. With the underlying code of Eclipse being a code editor and some basic libraries for debugging. From the core, developers can install any number of plugins or add-ons to make their Eclipse IDE. Making their environment suitable for any of their development needs. This plugin capability enables Eclipse to be a form of Swiss Army knife of IDE’s.
We will start by using the Eclipse IDE through both examples and class assignments. Let’s start by installing and setting up one of the Eclipse pre-built packages. This package comes preloaded for HTML, JavaScript, PHP, and CSS. The included packages will eliminate the need for too much customization or plugins to mess with from the start. Follow the step on “Installing Eclipse on Windows 10” before continuing.
OS Development Considerations
Please be aware that there is a 260 character limit for folder names/files on all pre-Windows 10 OS versions. This limit means that your file path cannot be greater than 260 characters long. There is no character limitation on Linux, Unix, or Windows 10. However, there is a performance issue on Windows 10 when dealing with large file sets. This performance issue does not exist on macOS, Linux, or Unix. Bottom line, any development on a pre-Windows 10 OS will need to avoid exceeding the 260 character limit. So consider putting your project folders on the root path of your machine (C:\).
Create a Web Project
Next, it’s time to put these to use and build a simple “hello world” web project.
- Open up Eclipse or your preferred IDE. (Eclipse will be the defacto IDE for all course examples).
- Create a new project: Up in the menu bar click “File” > “New” > “Project”.
- In Project wizard select “web” > “Static Web Project”. Then, click “Next”.
- Enter “develpreneur” for your project name. Click “Finished”.
- Go back up to the Menu Bar and click “Window” > “Perspective” > “Open Perspective” > “Other”. Select Web, click “Ok”.
- The Web perspective will open up the workspace with all the appropriate plugins and views for web development.
- Or, you may see a prompt asking you to switch views.
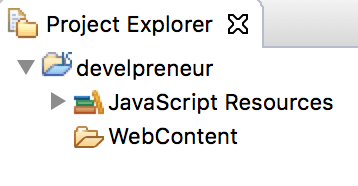
- On the left-hand side of the IDE, you will see the “Project Explorer” with your new project.
- Click on your project and expand the root folder. You should see the following:
Creating a new HTML file:
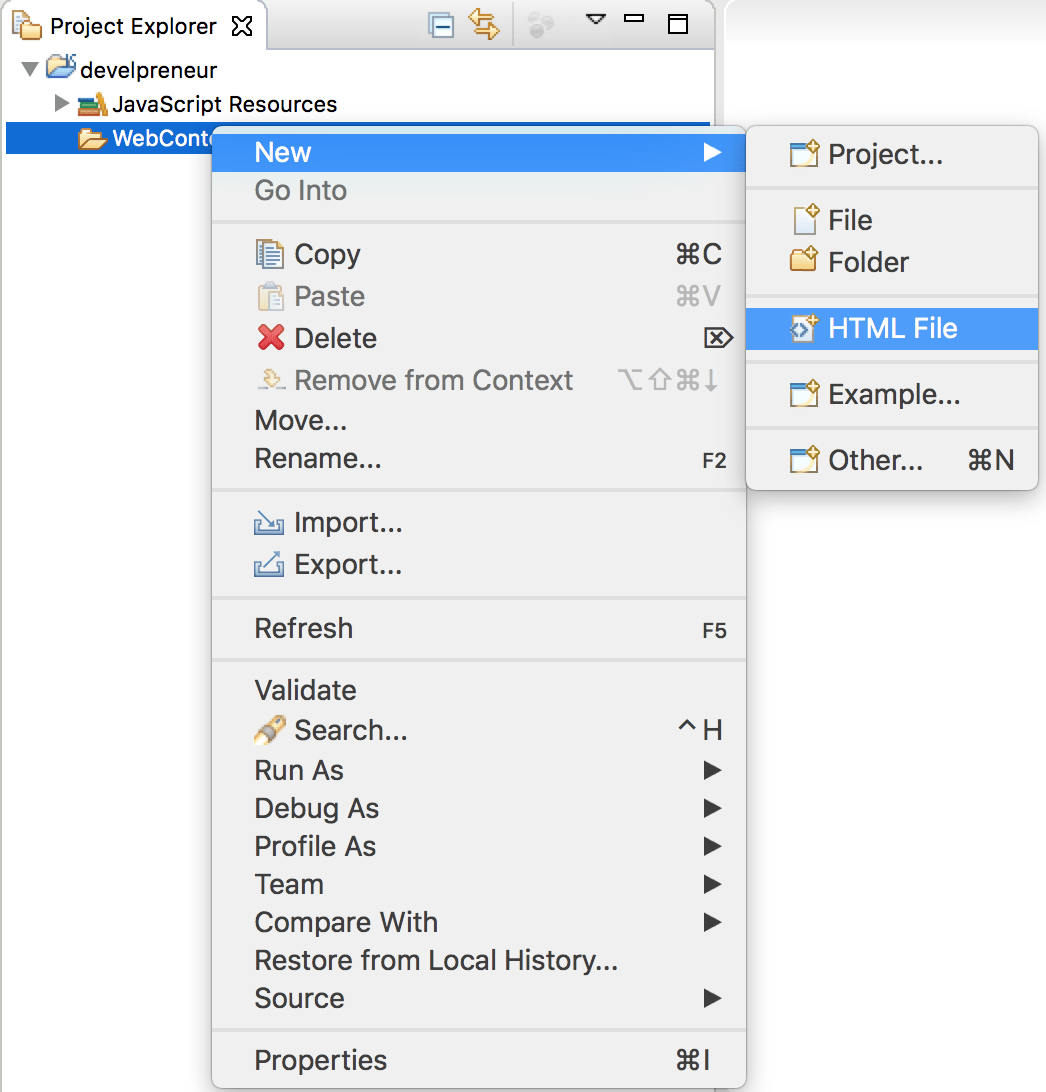
- In your project right click on the folder “WebContent” and hover over “New” and Click “HTML File”. As Seen Below:
- Select the “WebContent” folder and leave the file name as the default “NewFile.html”. Now click “Finished”.
- The new file will open up in the HTML editor. Causing the new file “NewFile.html” to be load in the center of the IDE. To help, the IDE builds the file it will include some sample HTML code.
- Add the following code between the open <body> and close </body> tags.
<p> Hello World</p>
- Save the page.
- Finally, right click on the “NewFile.html” in your project explorer. Then select “Open With” > “Web Browser”. This action will open up a browser view in the center of your IDE. The browser view shows you what your page will look like in a web browser. At this point, if you can test this file outside of your IDE. Start by opening up your browser and copy the address in the location bar.
Identifying what should go on your marketing page
Start off by determining what you need to put on our marketing site. Before we begin, we need to be aware that not all browsers display web pages the same. For instance, these can include things like images, text, and media. So you will need to ensure that all your pictures and text will display correctly and cleanly. It will also require testing your pages on multiple browsers. Also, make sure to create multiple versions of images at various sizes and include specialty fonts on your site.
Before we start putting our site together, ask yourself these questions:
- What do I want my visitors to see? You should at least have a company logo and name displayed on all your pages. Do not make your customers guess who you are.
- How do I want my customers to get around my site? Think about how many pages your site will contain. Then consider what type of site navigation will work for you. For example, do you want menus or navigation links?
- Should I include an image banner or advertisement? If you have multiple announcements or products, you can highlight them by creating an individual image banner. These banners are a great way to make things stand out on a page. Another example would be to add multiple pictures and have them scroll automatically.
- What if my visitors want to learn more about my company? Any information about the owner of the site or general company information is relevant. If you choose to provide this information, it will go on a company profile or About Us page.
- Other things to consider are Quotes, and Copyright information: How we cite information is important. Make sure when you are quoting or referencing copyright material you include a link back to the source.
Identify which elements that need to be on every page
Throughout your career as a developer, you will start to notice patterns. In web design, you will soon discover that most web pages on a site follow a similar theme or template. Each page will contain a standard set of elements or navigation. These themes will make the site feel familiar and easy to navigate.
These are just a few of the components that we will be adding to every page:
- Add to the top section:
- Company Logo
- Company Name
- Site Navigation Bar
- Add to the bottom section:
- Include site navigation bar
- Copyright information
Define a Basic Template
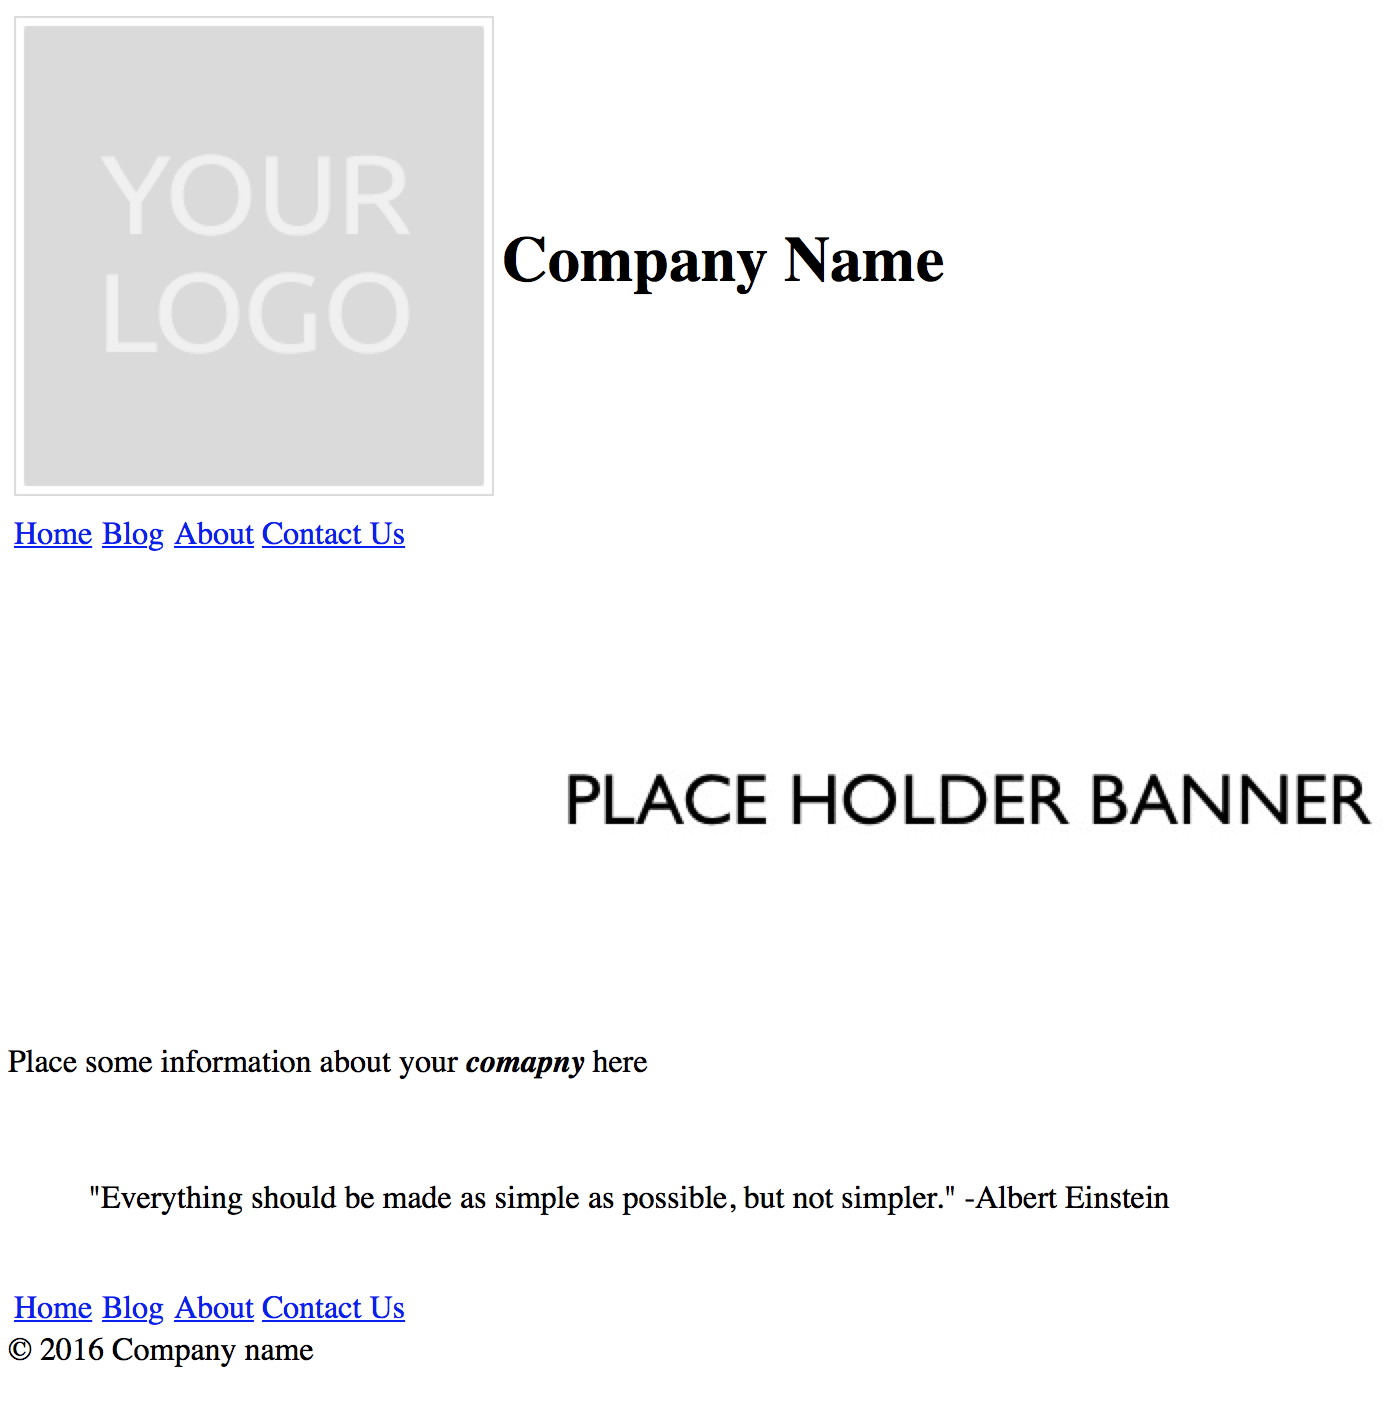
Now that we have determined what types of things need to go on our marketing site, it’s time to begin. Let’s start off by building a basic template for our company’s main home page. For this class, we will start by creating our main page to emulate this image. This model may seem unimpressive even dull and ugly. Do not worry; we will address how to add styles to your pages in the next lesson.
Building the Home Page
This will be the main page of your company site and includes the following components:
- Add to the middle section:
- An Image Banner.
- Some general information about our company.
- A reference “Quote”.
Create an index.html page
- Open up IDE.
- Open up your “develpreneur” project.
- Now right-click on the folder “WebContent” and hover over “New” and click “HTML File”.
- Then select the “WebContent” folder and change the filename to “index.html”. Now click “Finished”.
- Our file opens up in the HTML editor in the center of the IDE. The new “index.html” file with contain some sample HTML code.
- Next, copy and paste the code from the following link into your index.html file.
- Go ahead and create a new folder under “WebContent”. Start by right-clicking on “WebContent” and select “New” > “Folder”. Then, Select “WebContent” for the parent folder and enter the folder name “img”. Wrap-up by clicking “Finished”.
- Now save these files (blankprofile.png, default-merchant-logo.jpg, placeholderbanner.jpg) into your “img” folder. Do not change the file names! If you do, you will need to adjust the code reference to the new file names.
- Next, we need to test the code in a browser. Start by right-clicking on the “index.html” in your project explorer. Then, select “Open With” > “Web Browser”.
- Finally, you should see a web page matching the image displayed above.
Building the About Us page
This page includes additional information about yourself or your company. It should include some if not all of the following components:
- Add to the middle section:
- A profile image.
- Some context about you.
- Include a Bullet list, listing your experience and education.
- Create a number list, listing your individual skills.
- A list of links to your Facebook, Twitter, LinkedIn, and Tumblr pages. If you do not have accounts on these sites, use their home pages.
Create an about.html page
- Open up IDE.
- Open up your “develpreneur” project.
- Start by right-clicking on the folder “WebContent” and hover over “New” and Click “HTML File”.
- Then, select the “WebContent” folder and change the filename to “about.html”. Now click “Finished”.
- Our file opens up in the HTML editor in the center of the IDE. The new “about.html” file opens with some sample HTML code.
- Next, copy and paste the code from the following link into your index.html file.
- To test your site, right-click on the “about.html” in your project explorer. Then, select “Open With” > “Web Browser”.
- Finally, you should see a web page matching the image displayed above.
Questionnaire and Contact Pages
Questionnaires and contact pages are wonderful ways in which you can request information from visitors. To create these pages you will need to use the <form> tag. Each form contains components that prompt a user to enter information. In many instances, the elements of a form consist of a combination of text fields, checkboxes, radio buttons, and more. Each form has some submit (or action) button that will transmit their responses to a server. Typically, we store this information in a database, or we send it via email for receipts or newsletters.
In the following example, we are going to show you how to include a contact form on your marketing site. For instance, when a user clicks submit it will return the responses to a new page. To trigger this action will require some PHP code. Do not worry we are not expecting you to know PHP at this time. Instead, we will be providing you with the PHP file to do this.
Building the Contact page
The contact.html file is a generic contact page. We can modify this page to collect information from our customer (or visitors). It can also be useful for having users sign up to receive a weekly newsletter:
- Add to the middle section:
- Create a form.
- Include a PHP file (provided) that will return the user to a new page displaying the values they entered.
- Add form components to capture user input.
Create a contact.html page.
- Open up IDE.
- Open up your “develpreneur” project.
- Begin by right-clicking on the folder “WebContent” and hover over “New” and Click “HTML File”.
- Next, select the “WebContent” folder and change the filename to “contact.html”. Now click “Finished”.
- Once finished, the file will open up in the HTML editor in the center of the IDE. The new “contact.html” will contain some sample HTML code.
- Now, copy and paste the code from the following link into your index.html file.
- Next, we need to create a folder to hold our PHP files. Start by creating a new folder under “WebContent”. Go ahead and right-click on “WebContent” and select “New” > “Folder”. Then, select “WebContent” for the parent folder and enter in the folder name “php”. Finally, click “Finished”.
- Now save the file (echo.php) into your “php” folder. Do not change the file names! If you do, you will need to adjust the code reference to the new file names.
- Test your code by right-clicking on the “contact.html” in your project explorer. Then, select “Open With” > “Web Browser”.
- This action will open up your browser with a web page matching the image displayed above.
- When you click the “Submit” button, the forms key and values will show in your browser.
Assignments
- Build out a complete marketing site (Home, About Us).
- Add a Contact page to your marketing site.
- Deploy your new marketing site using FTP.
- Bonus: Create a backup and restore script of your local development Apache web directory. Then, ftp both scripts and your local backup to your AWS EC2 instance. Now, backup your AWS apache folder to /opt/backup/. Finally, restore your development Apache backup to your AWS Apache instance.
When you are ready, it is now time to move on to the next step: Using CSS to Improve Your Marketing Site.
Further Reading
Outside of additional classes here, we have found these sources to be ideal for learning more about web development:
- https://code.visualstudio.com/
- https://eclipse.org
- https://developer.apple.com/xcode/
- HTML Tag References
- HTML5 Pocket Reference
- What Is HTML5?
- Web Marketing All-in-One For Dummies
[sgmb id=”1″]