
Preparing for a User Account
This tutorial will lead us through adding a user account to an EC2 instance. However, before you begin, you need to have built an EC2 instance. Otherwise, you will not be able to continue with this article. Also, you will need to have the instance running and be able to connect with the default ec2-user account. If you require a reminder of how to do this you can follow the steps in these sections before you begin:
- Amazon AWS Registration
- EC2 Server Setup using the Amazon free tier
- Configure security and Connect to your EC2 instance
The First Step
When you create an EC2 instance, it initially is setup with the ec2-user. Since the EC2-user is a type of admin user, you should not use it as the primary account. Therefore, you need to create a work account for yourself and others that need access to the server. This is not a very complicated process so let’s get to it:
Step 1: Begin by logging into your server on your EC2 instance.
Step 2: Now, from the command line, type in and execute these commands in order (note: replace [user name] including [] with the username you wish to add):
sudo adduser [user name]
sudo su
cd /home/[user name]
mkdir .ssh
cp ../ec2-user/.ssh/authorized_keys .ssh
chmod 700 .ssh
chown -R [user name].[user name] /home/[user_name]
Step 3: Add yourself to sudoers file (if you are still running as root omit the “sudo”):
visudo –f /etc/sudoers
Step 4: Next, find the line:
root ALL=(ALL) ALL
Step 5: Add a line below it the same information exactly except with your username. For example, I add the line:
rob ALL=(ALL) ALL
Step 6: At this time your ready to save the file (Esc key and type “:w“) and quit (Esc key and type “:q“)
Step 7: Add a password for your account with the command:
sudo passwd [accountname]
Step 8: To exit out of root user and return back to ec2_user type:
exit
Step 9: Go to the /home folder (cd /home) and type ls -l. Each folder should be owned by the username:
drwx------ 3 ec2-user ec2-user 4096 Jun 24 15:33 ec2-user
drwx------ 4 rob      rob      4096 Aug  4 13:10 rob
drwx------ 3 tempuser tempuser 4096 Aug 28 20:17 tempuser
Step 10 : Finally, type exit and change your login to use your name instead of ec2-user
Next Steps
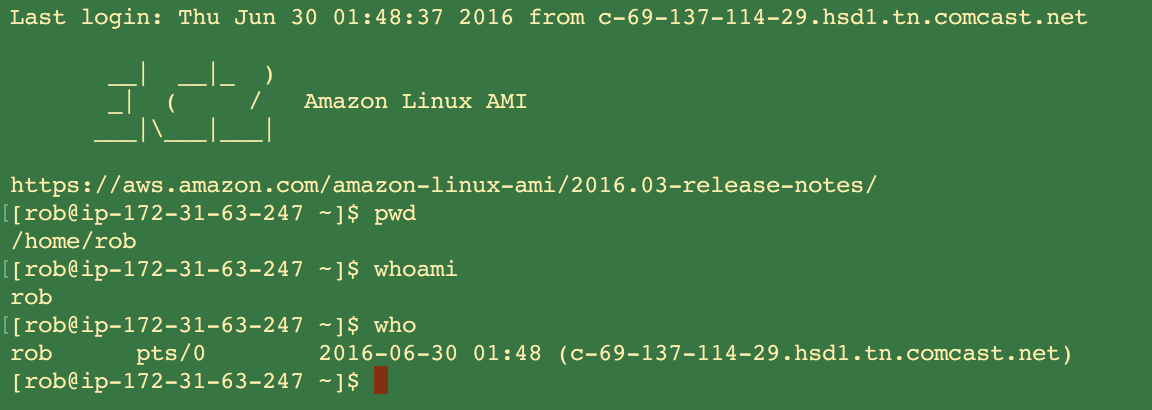
As a result of following the above steps, you have now created a new user login on your EC2 instance. At this time you should be able to log in using your new user account. Once you log in, verify the active user by typing the command “whoami” on the command line. Consequently, you should see your new username appear in the list.
Click here to return to the class
Further Reading
You can always check out some more of our articles to learn more. However, if you want to find out more just about AWS look at this: AWS System Administration: Best Practices for Sysadmins in the Amazon Cloud.
Want to learn more? Have a look at How Linux Works: What Every Superuser Should Know
[sgmb id=1]