WordPress Plugins
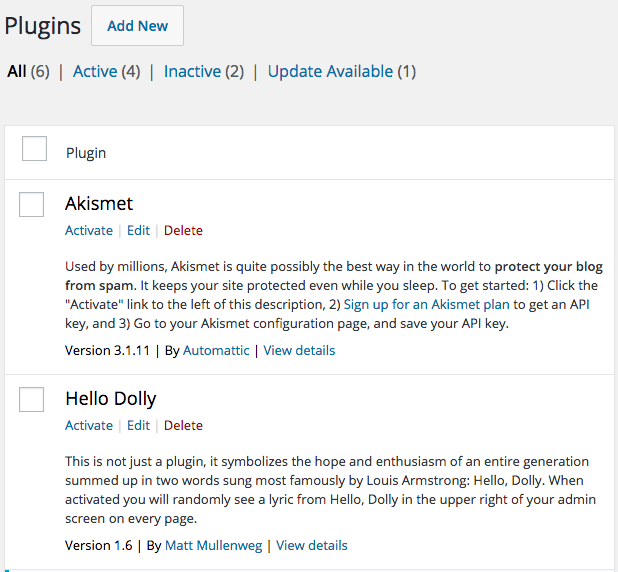
This will bring up the WordPress Plugins page:
On this WordPress Plugins page, you will see a list off pre-packaged plugins. Note: these plugins are on your system but not activated. Now go ahead and click on the “Add New” button at the top of the dashboard to bring up a window defaulting with a list of all available favorite plugins found at wordpress.org.
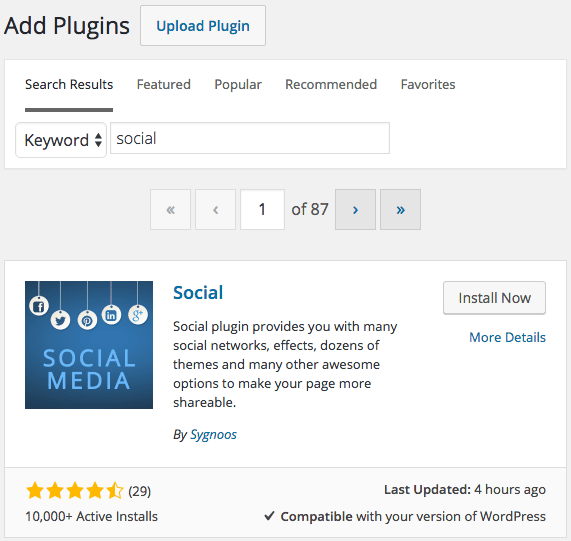
In the search bar type “social” and press enter. This action will bring up a list of all plugins that relate to social. Look for the “Social” plugin by Sygnoos (It should be one of the 1st ones listed).
Click the “Install Now” button to download and install the plugin. You should see the Installing Plugin: Plugin Name page displayed. This page may take a few minutes to load based on the size of the new plugin you are installing.
Note: If there is a problem downloading the plugin this page will tell you. The most common problem with installing a plugin is folder permissions. So if you see this message go to “Troubleshooting WordPress Permission Issues” to configure your permissions.
When installing the plugin, you will have two options: “Activate”, and “Return to Plugin Installer”. Go ahead and activate your plugin. After activating the plugin, the application will open the Plugins screen where you will now see a color bar next to your activated plugin.
Configure the Social Plugin
Now that the plugin is activated you should see a new option on your WordPress dashboard sidebar called Social Media. It should look like this:
Click on the “Social Media” to bring up the Social Media page where you can add custom social button menus to add to your pages and posts.
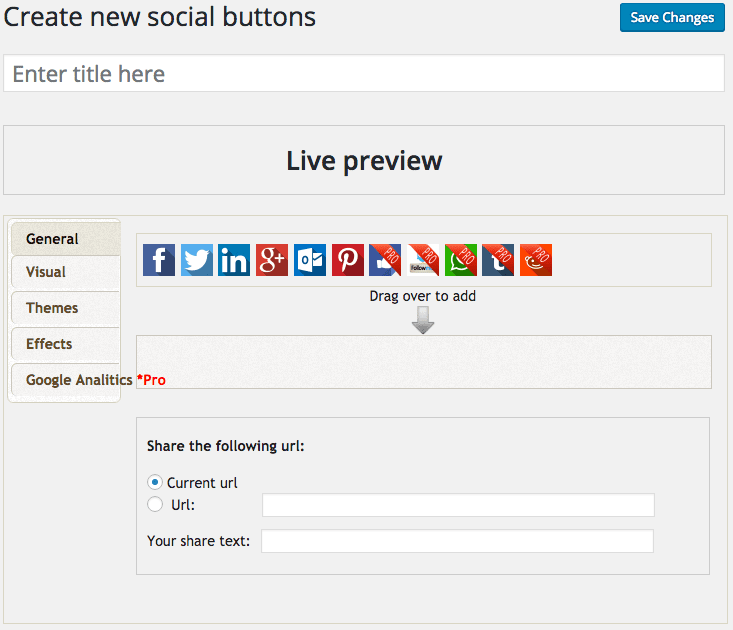
Click “Add New” button at the top of the page to display the “Create New social buttons” Page.
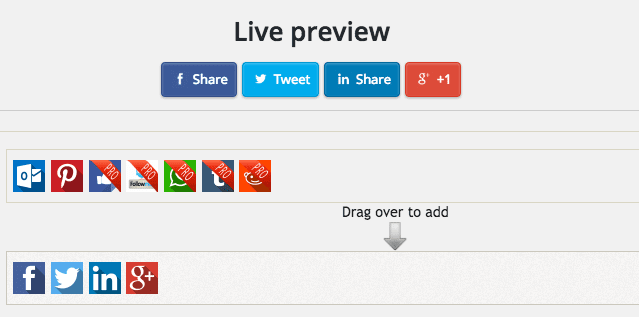
At the start of this screen, you will see a text box that says “Enter title here.” Go ahead and type in “Menu one”. Then drag the Facebook, Twitter, LinkedIn, and Google Plus icons into the area where it says “Drag over to add.” It should look like this:
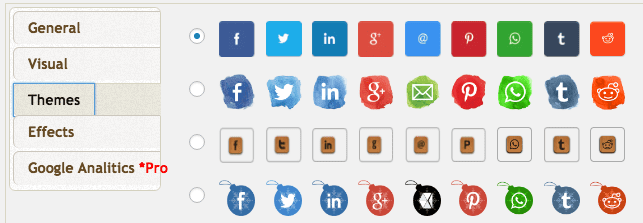
At the top of the screen in the “Live Preview”. The Live Preview will show you what your users will see when you add the icons to a page/post. Now look in the center of the screen. There you should see a “Themes” option. Go ahead and Click it. Now you will see all the available free/paid icons view you can use. Select the second one.
That’s it for this screen go ahead and click on the “Save Changes” button in the top right corner. Then click on the “Social Media” button on the WordPress dashboard to go back to the social media page.
You new social menu has been created and is now ready to use. Now all you need to do to add the Social Buttons is copy and paste the Shortcode “[ sgmb id=1 ]” into your post/page or use the new “Insert Social Media Buttons” button that is now available to the editor.
These are some of our favorite plugins
| Google Analytics Dashboard for WP | Displays Google Analytics Reports and Real-Time Statistics in your Dashboard. Automatically inserts the tracking code in every page of your website. |
| Google SML Sitemaps | This plugin will generate a special XML sitemap which will help search engines like Google, Yahoo, Bing and Ask.com to index your blog better. |
| Newsletter | The Newsletter is a cool plugin to create your subscriber list, to send newsletters, to build your business. |
| Social | Adds Social media buttons and lets you choose from variety of free button icons. |
| WordPress Popular Posts | WordPress Popular Posts is a highly customizable widget that displays the most popular posts on your blog |
| WP Statistics | Complete statistics for your WordPress site. |
Some more advanced features Plugins
| CoSchedule | an editorial calendar for your content marketing and social scheduling. |
| Memberful | Sell memberships and restrict access to content with WordPress and Memberful. |
Additional Resources
- Check out How to Write a Plugin at WordPress.org
- Check out these books:
If you are taking our “Introduction to WordPress” class click here to return to where you left off.
[sgmb id=”1″]

