
When working with Operating systems in a server environment, you are often limited to a text or command line interface. These interfaces (Putty, terminal, GNU command line) are simple plain text interfaces. Since everything is text based, there are no easy to use graphical software tools like Notepad to edit files. Thankfully, all Linux distributions have the VI editor (or a variation of it like vim).
The VI editor is a screen-oriented text editor. This editor allows users to use keyboard commands to navigate documents, make modifications, and save their changes. The functionality is similar to that of traditional GUI-based tools like Notepad, without the cute menus and mouse clicks.
What are the problems we want to solve by taking this class?
- How do we edit files in Linux?
- Is there a built-in editor for Linux?
- How do we tell Linux to perform a series of tasks?
What we will cover:
- Overview
- Editor Modes
- File Controls
- Navigation
- Modifying Text
- Wildcards and Searching
- Basics of Scripting
Class Goal: Each student will learn how to create and manipulate a simple script file. The script will backup files and folders from a Linux terminal.
Overview of the VI Editor
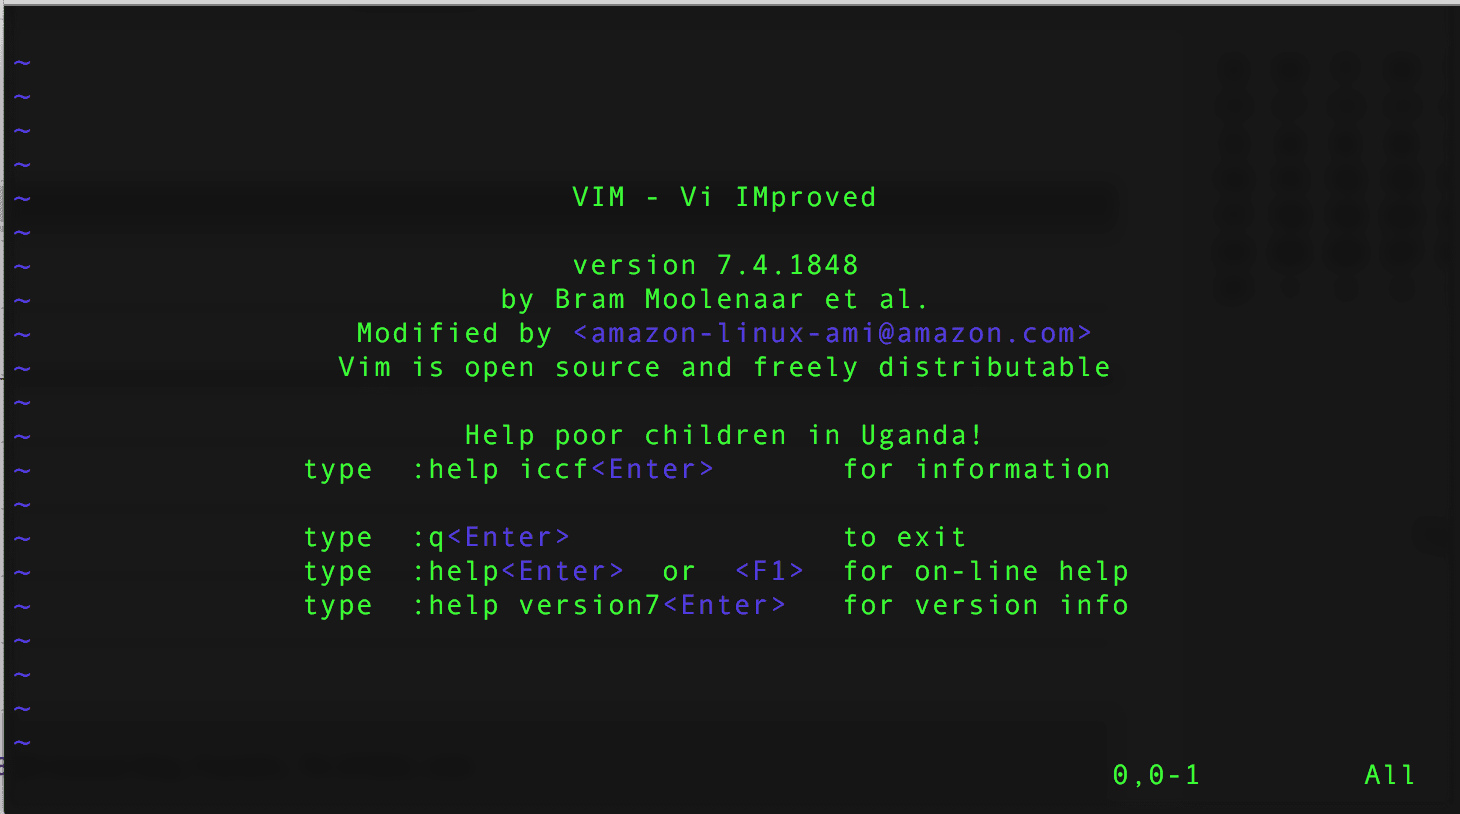
As we said before, vi is a screen-oriented text editor. This editor allows users to use keyboard commands to navigate documents, make modifications, and save their changes. As you can see, it is all text based. Thus, no beautiful interfaces here.
Here are some basic uses of the VI editor from the command line:
- To create a new file on your system for editing type the following:
- > vi newTextFile.txt
- This command will open the vi editor
- At the bottom of the screen, you will see “newTextFile.txt” [New File]
- If you make no changes to the file and exit, then vi will not create the file.
- To edit an existing file make sure your in the correct folder or that you include the folder name with the name:
- > vi /temp/existingTextFile.txt
- This command will open the vi editor
- At the bottom of the screen, you will see “existingTextFile.txt” without the [New File]
- You should also see some text in the editor.
- When opening, the vi editor looks for the filename specified. If it does not find it, vi will assume you are creating a new file.
- Make sure to check the bottom of the screen. If you are expecting a file to open and you see a blank screen, you may be in the wrong place or trying to open a file that is locked based on permissions.
Editor Modes
When working in the VI editor you are going to be active in one of two modes:
- Command mode – is where you use any of the numbers of vi commands for navigation, saving searching, etc
- When you enter the vi editor, you start out in command mode.
- These commands are below.
- Insertion mode – is where you will be typing in text into the editor.
- For entering insertion mode, you must type the letter “ i ” in the editor.
- This keyboard command will enable the insertion mode where you can now type text, hit the enter key to add lines, etc.
- To exit back to the command mode you need to press “ [esc] ” on the keyboard.
Understanding the difference between these two modes and knowing which mode you are in will save you a lot of trouble. If you are in editing mode and start trying to execute commands you could seriously mess up the text in your file.
File Controls
Let’s look at how to change them using file controls. These are the commands needed to exit vi and allow the user to save the file or ignore changes. Remember, to execute these commands you must be in command mode.
These commands are lowercase:
-
:x - Exits vi and saves current changes. -
:q - Exits vi only if there has been no changes to the file. -
ZZ - Exits vi and saves current changes. -
:q! - Exit without saving changes. -
:w filename - saves the file to "filename". -
:r filename - writes "filename" file into the current file after the current line. -
:n - go to next file. -
:p - go to previous file. -
:e filename - go to next file.
To run these commands, the command must include the press of the” [enter] ” key on the keyboard
Navigation
Even though your operating system may be mouse compatible, and your interface (putty, terminal, GNU terminal) supports a mouse, vi does not. Instead, vi has given us keyboard commands to move around quickly. Remember to execute these commands you must be in command mode.
Move the cursor around a line. These commands are all lower case:
-
h or left keyboard arrow - moves to the left. -
j or down keyboard arrow - moves down. -
k or up keyboard arrow - moves up. -
l or right keyboard arrow - moves right.
Word-based navigation:
-
w - moves to the next word. -
W - moves to the next blank delimited word. -
b - go to the beginning of the word. -
B - moves to the beginning of blank delimited word. -
e - jump to the end of a word. -
E - moves to the end of a blank delimited word.
Line and Sentence Navigation
-
( - moves to the beginning of the sentence - ) – jump to the end of the sentence
-
{ - moves to the previous paragraph -
} - skip to the next paragraph -
0 (zero) - moves to the beginning of the line -
$ - moves to the end of the line
Paragraph Navigation
-
{ - moves to the previous paragraph -
} - skip to the next paragraph
File Navigation
-
1G (uppercase) - moves to the 1st line of the file. -
G (uppercase) - moves to the last line of the file. -
nG (lowercase, uppercase) - moves to the nth line of the file. -
:n (lowercase) - moves to the nth line of the file. -
fc (lowercase) - moves to the next character position "c". "c" is any character on the keyboard. -
Fc (uppercase) - moves to the previous character position "c". "c" is any character on the keyboard. -
H (uppercase) - moves to the top of the screen not the top of the file. -
M (uppercase) - moves to the middle of the screen not the top of the file. -
L (uppercase) - moves the bottom of the screen not the top of the file.
Modifying Text
We have talked about the different modes in which you can use vi. We covered the most commonly used command “ i ” to enter insertion mode. Now we are going to look at the other commands we can use to insert and modify text. Remember to execute these commands you must be in command mode.
To “insert text” the commands are:
-
i (lowercase) - insert before the cursor. -
I (uppercase) - insert before the line. -
a (lowercase) - append after the cursor. -
A (uppercase) - append after the line. -
o (lowercase) - opens a new line after current line. -
O (lowercase) - opens a new line above current line. -
r (lowercase) - replace one character -
R (uppercase) - replace many characters
To “remove text” the commands are:
-
x (lowercase) - deletes characters to the right of the cursor. (think of this as the [ del ] key). -
X (uppercase) - deletes characters to the left of the cursor. (think of this as the [ backspace ] key). -
D (uppercase) - deletes all the characters from the cursor to the end of the line. -
dd (lowercase) - deletes the current line. -
:d (lowercase) - deletes the current line.
Each of these commands will put vi in editing mode.
Wildcard & Searching
An editor would not be very useful if you did not have the ability to search for a string and find and replace text. Thankfully, vi has these commands along with more complex solutions using regular expressions. Regular expressions is a very complex topic and beyond the scope of this class. Further information about regular expressions can be found in a number of locations. Enter the search terms regular expressions tutorial or regular expressions vi to learn more. Remember to execute these commands you must be in command mode.
The commands to “Search for strings” are:
-
/string - search forward from the cursor for the "string" you are looking for. -
?string - search backwards from the cursor for the "string" you are looking for. -
n - after you have initiated a search pressing the [n] key will search for the next instance of the string.
-
N - after you have initiated a search pressing the [N] key will search for the previous instance of the string.
The commands to “Search and replace strings” are:
-
:s/pattern/string/flags (lowercase)- Replaces pattern with string according to flags-
g - this flag will replace all occurrences of the pattern -
c - this flag confirms replacement -
i.e.
-
-
& - this will repeat the last :s command that was run.
Basics of Scripting
One of the most useful everyday uses of Vi is for creating shell scripts. A shell script is a text file comprised of a series of shell commands. Shell scripts give you the ability to create shortcuts by grouping commands together. For instance, in the Linux lesson, we explained how to gather files together using tar and gzip. The process of compressing these files together required you to run to multiple shell commands.
Create a Shell Script
For example, let’s look at how to backup your home folder to a backup folder /opt/backup:
cd opt
sudo mkdir backup
chown -R your_account_name /opt/backup
cd /opt/backup
tar -cvf home.tar /home/your_home_folder/*
gzip home.tar
As you can see, this requires multiple steps. So instead of having to repeat the last two steps every time you want to back up your home folder why don’t we turn that into a backup script. In your /opt/backup folder type “vi backup_home.sh” and press enter to open up the vi editor. Now enter into edit mode by typing “i”. Type in text from steps four and five. Now create the file with these changes. To do this exit editing mode by pressing “ESC” followed by typing “:x”. That’s it. You have now created your first script file.
Running a Shell Script
Now that we have a script file what do we do with it? There are a couple of ways to run a script file. You can execute scripts using the “sh” command. The other option is to turn the script into an executable command by changing its permissions. Let’s start by looking at an example of how to run the new script with the shell command.
cd /opt/backup
sh backup_home.sh
Note: Depending on your folder permissions you may be required to prefix the sh command with sudo.
If we want to make this script executable and not require the sudo command we need to change its permissions. To make a script executable without the “sh” command you need to set the execute permissions with chmod. Here is how we change the permissions:
chmod 755 backup_home.sh
Now if we want to execute our backup script we type:
/opt/backup/backup_home.sh
Assignments
- Following the example above use the vi editor to create a new script file to backup your critical files.
Complete the assignments; then it is time to move on to the next step: Launching Your Apache Web Server on Amazon’s EC2
Further Reading
Outside of additional classes here, we have found these sources to be ideal for learning more about vi and getting around in it:
- Cheat-sheets.org is a great reference site for PDFs and images for quick reference commands for all kinds of languages and tools.
- Learning the vi and Vim Editors
- vi and Vim Editors Pocket Reference: Support for every text editing task
[sgmb id=”1″]