In our last lesson, we walked through building a rough template for our marketing site. The focus was primarily on determining what information you need to display to your customers. These pages include things like a company logo, company name, and site navigation links. Overall, the final product (see image below) looks a bit lackluster, incomplete, and not ready for customer consumption. That is because the focus of the lesson was on what needs to be on our site. Not the styling (or using CSS). 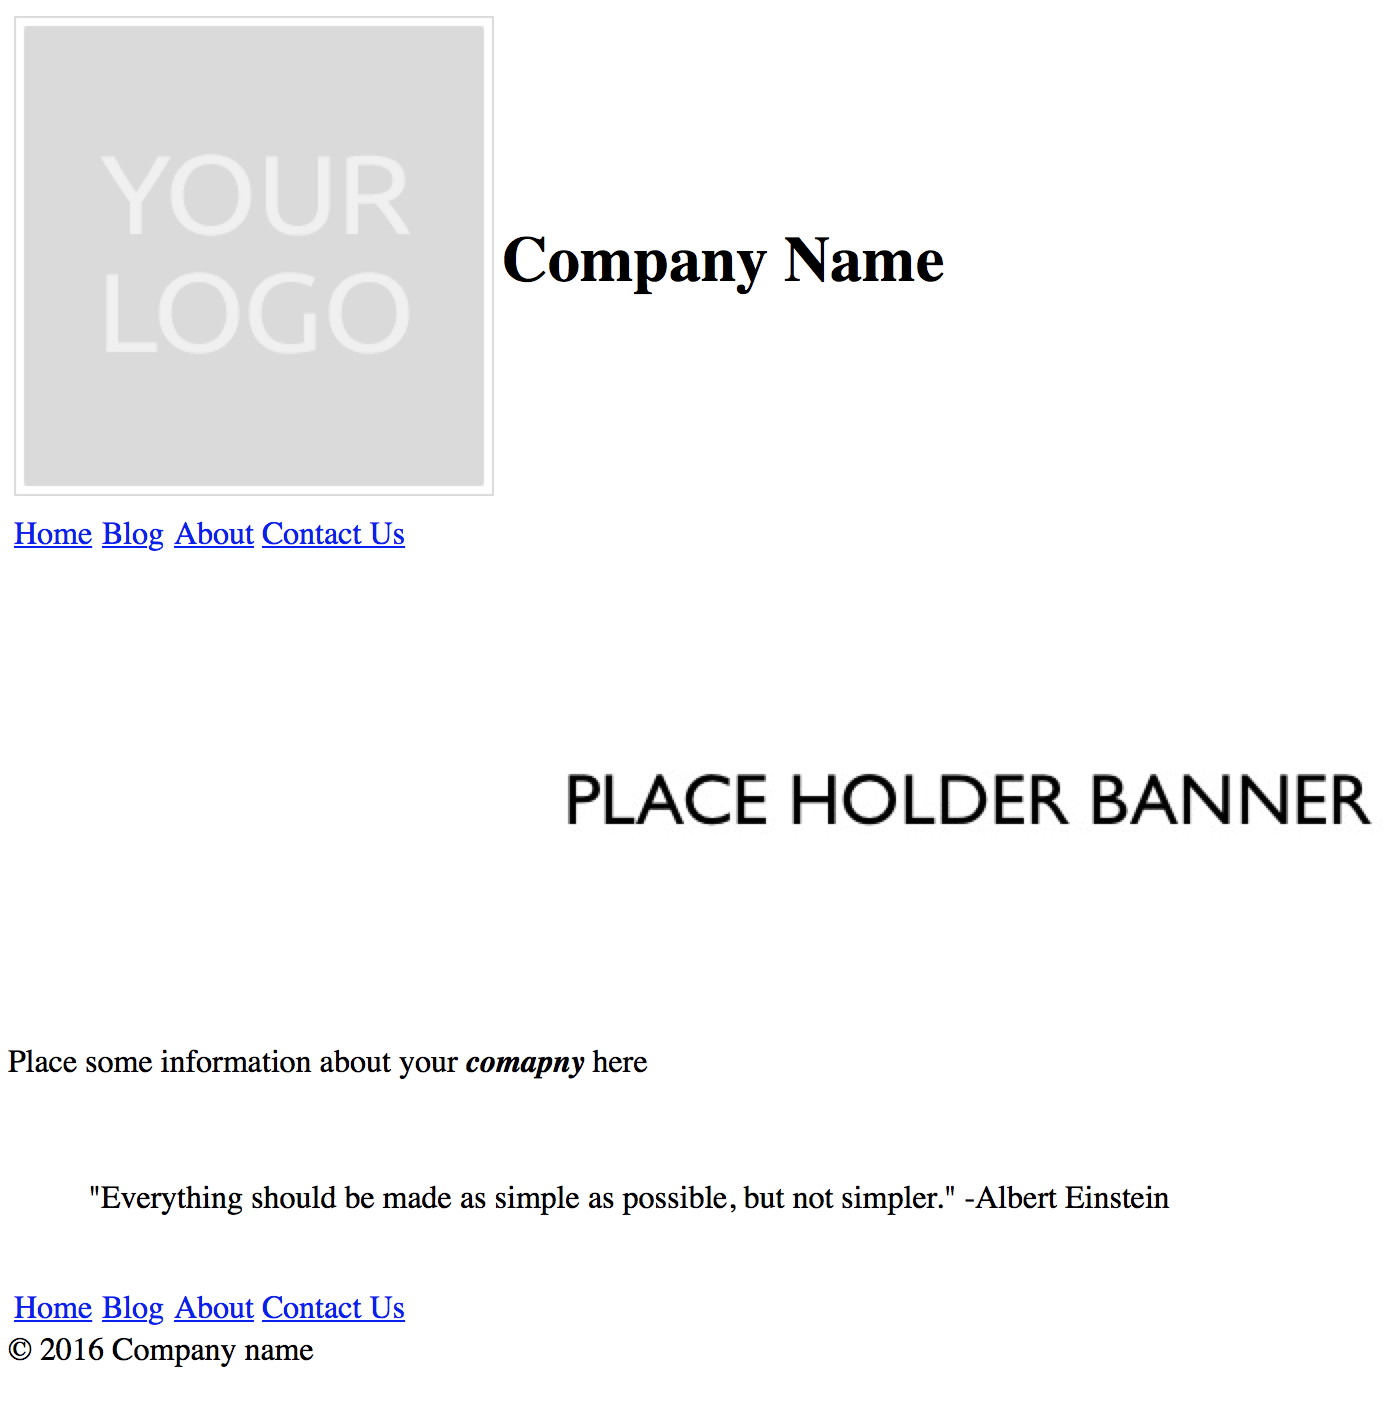
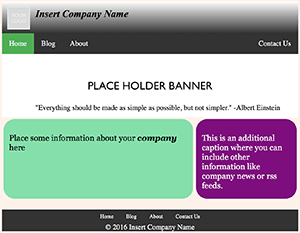
In this lesson, we are going to show you how to make this clunky, ugly site into something more presentable. To do this, we are going to review what styling decisions you should be considering when designing your pages. Including a walkthrough on how to apply these styling, decisions using CSS. Which will make your marketing site template should look similar to this:
What are the problems we want to solve by taking this class?:
- Why is styling important?
- What do I want my site to look like?
- How do I add styles to my marketing site?
- When do I use styles to create a common theme?
What we will cover:
- What is CSS?
- Using CSS.
- How to use Selectors
- Cascading Order and Inheritance.
- Identifying which elements to style.
- What style techniques can we apply globally?
- Applying Page Specific Styling.
- Comments
Class Goal: Students will start to develop a corporate look and feel that goes beyond a basic internet site.
What is CSS?
CSS stands for Cascading Style Sheets. These style sheets are responsible for controlling the look and feel of how HTML Elements appear on a web page. One of the major advantages of using CSS is its ability to group standard styles together to form themes. These themes make it easier on developers to ensure that each page has the same look and feel. Which is useful for sites requiring a hefty amount of styling. Since using CSS can help with faster load times and makes it easier to maintain.
Using CSS
Now that we have a better understanding let’s start using CSS. Unlike HTML, using CSS styles, libraries do not contain tag elements. Instead, the style goes inside the style attribute of the element tag. Another way to set the style attribute values is inside of a <style> tag within the HTML or externally in an external file. Let’s take a look at how to implement each of these methods.
Inline using the style attribute
All HTML elements contain the attribute style. This style attribute contains a set of formatting rules for a single element. These formatting rules include a property-value pair. Each set needs a semicolon(;) to separate each style pair. Which is great when all you wish to do is modify one element. For example, you want to change the shape of an image “some_image” to be a square. To do this, we will need to set the height and width to both be 50. The code looks like this:
<img id="some_image" href="image url" style="height:50;width:50" />.
Internally using the <style> tag:
A better option is to pull all of the pages style information into a <style> tag. The <style> tag goes in the <head> section of your HTML pages. The <style> tag enables your styles to be accessible to the Elements on your page. Using CSS styles in this manner, allows us to assign multiple styles to Elements with CSS selectors. Just remember, even though we can now update multiple Element styles at once. The <style> section only applies to the page that contains the <style> section. Here is an example of what the previous CSS would look like in a <style> section:
<html>
   <head>
       <style>
           some_image {
               height:50;
               width:50;
           }
       </style>
   </head>
       <img id="some_image" "image url" />
</html>
Externally in a file:
The final option is to store all of a site’s styling information externally into a file. Start by taking all the code in a <style> tag and storing it in an external file. In doing so, you do not need to use the <style> tag anymore. Now when you want to import a CSS file, you can import it using the link tag. To add more than one file, then you need to include an extra <link> tag for each file.
The link tag requires you to set the file relationship (rel) value. In this case, we want to configure the value to be stylesheet. Then we need to define what type of syntax if contained in this file. To do that we set the type to text/css. Finally, we need to configure the location of the file in the href attribute. Now, we have the ability to create and reuse multiple style types. Now we can create themes for all the pages on a site.
Let’s look at an example of using CSS in a file called image.css. This file will contain all the styling image for some_image:
@CHARSET "UTF-8";
some_image {
    height:50;
    width:50;
}
Next, we need to import the CSS file into our HTML file:
<html>
   <head>
       <link rel="stylesheet" type="text/css" href="image.css">
   </head>
       <img id="some_image" "image url" />
</html>
What are selectors and how to use them?
The process of applying CSS styling to an HTML Element requires the use of a selector. A selector is responsible for attaching the correct style to the right Element. There are three different ways of using CSS selectors; these are Element, Id, and Class. Therefore, users have the capability of altering one or more selector types when changing the style of an Element. This ability to combine selectors provides users with an endless way of styling and customizing the presentation of their pages.
Element selector
The Element (or tag) selector allows the user to specify the style at the HTML element level like <p> or <body>.
For example, let’s apply changes to all paragraphs on a page. Then your CSS block would start with p.
p {
  // place styling information here
}

<html>
    <p>Some text</p>
</html>
Id selector
The Id selector applies the style to the HTML element that has a matching id attribute. However, using Id selector will limit your style change to one element. Therefore, a web page should not have more than one matching id attribute per Element per page. So, to create a style group for an element id, you will need to prefix the Id selector with (#).
For example, if your HTML element id has the name “myId” then the CSS block should start with #myId.
#myId {
  // place styling information here
}

<html>
    <p id="myId">Some text</p>
</html>
Class selector
The class selector uses the class attribute of an HTML Element to find and apply a style. The class is more useful than the Id selector. Now, you can assign more than one class to a single or multiple Elements on the same page. When using CSS to create a class group, you need to prefix the group name with a period (.).
For example, to create a class “center” to center the text, we would create a group called .center.
.center {
  // place styling information here
}
You can assign multiple classes to an HTML element by adding a space separating each.
<html>
    <p class="center uppercase">Some text</p>
</html>
Cascading Order and Inheritance
If you decide you want to use various combinations of CSS files, <style> tags, and style attributes; then you need to be aware of the order of precedence that a browser uses to load a pages style.
When using CSS the Order of priority flows from the highest priority to lowest:
- Inline style (inside an HTML element)
- External and internal style sheets (in the head section)
- Browser default
An inline style (the style attribute inside a specific HTML element) has the highest priority. Therefore, the inline style will override a style defined in the <head> tag, in an external style sheet, or a browser default value.
Note: Most HTML5 compliant browsers now contain some developer tools (or you can get external plugins like firebug). These can help by showing you how the browser handles the traits and overrides.
Identifying What Styles to Use
As in the previous lesson, we need to sit down and determine what styles we wish to use. However, when dealing with styling you need to consider how a user will interact with a page. For instance, your site may look fabulous and make your brand pop. If a user has trouble navigate your site, then the chances are they will go elsewhere. Therefore, you need to sit down and review your site for function as well as style. For example, a well-placed button could make the difference in obtaining a sale.
Questions To Help Guide You Through This Process:
- Do I have any brand-specific color schemes or font styles?
- What type of navigation controls do I want to use?
- Do I want to use a global theme or does each page require different styles?
- Which browsers are you going to support?
- Can I create a global group of Elements that are common on multiple pages?
Create a Global CSS File
Your site’s global CSS file will contain all of your sites shared styling groups. To make our site uniform we need to make some changes. These changes are going to affect the company logo, company name, sitemap, footer, copyright, and menu. The styling changes will include the following:
- Use an Element selector to set the default background of the <body> Element. This selector will set the color for all pages on your site.
- Create Id selectors for company logo, company name, sitemap, footer, copyright, and menu.
- For the menu navigation group, add some styling to change the <ul><li> into a navigation menu.
- We are going to move the company logo to the top left of the page.
- Set the business name to use the font Times New Roman. Then adjust the font size to 22, and make the text italic.
- Finally for copyright, footer, and sitemap we are going to center these elements at the bottom of the page. Then we will change their coloring schemes.
Create a style.css stylesheet:
- Open up IDE.
- Then, open up your “develpreneur” project.
- Now right click on the folder “WebContent” and hover over “New” and Click “Other”. Scroll down the list until you find the web. Expand the web and click on “CSS File” and then click the “Next” button.
- Next, select the “WebContent” folder and change the filename to “style.css”. Then, click “Finished”.
- The file will open with the HTML editor and position it in the center of the IDE.
- Copy and paste the code from the following link into your style.css file.
- Next, open up your “index.html” file.
- Then, inside the <head> tag insert the following line to add your CSS to your html page:
<link rel=“stylesheet” type=“text/css” href=“./css/style.css”>
- Go ahead and save your “index.html” file. Now, you will need to repeat these steps for “about.html” and “contact.html”. This will apply the global style changes to the rest of your site.
- Before we wrap up, you need to test your code. Start by right-clicking on the “index.html” in your project explorer. Then, select “Open With” > “Web Browser”.
- Your web page should now have a matching header and footer as in the image displayed above.
Add Style to Home Page
The page specific CSS file is going to contain only the styling configuration for a particular page. We will not be reusing these styles anywhere else at this time. Which means these elements will be addressing the page level banner image, quote, caption one and caption two. These styling changes will include the following:
- Reposition and resize the banner image.
- Overlay the quote on the banner in the lower right-hand corner of the banner image.
- Arrange caption one and two to display next to each. Both blocks need to have round corners. We will set caption one to be two-thirds of the screen width. Then we will set caption two to be only one-third of the display width.
Create an “index.css” file:
- Open up IDE.
- Open up your “develpreneur” project.
- Start by right-clicking on the folder “WebContent”. Now hover over “New” and Click “Other”. Scroll down the list until you find the web. Expand the web and click on “CSS File” and then click the “Next” button.
- Continue by select the “WebContent” folder and change the filename to “index.css”. Now click “Finished”.
- The file will now open in the HTML editor in the center of the IDE. This new file “index.css” will contain the code setting the character set to UTF-8.
- Now, copy and paste the code from the following link into your style.css file.
- Next, open up your “index.html” file.
- Inside the <head> tag insert the following line to add your CSS to your html page:
<link rel=“stylesheet” type=“text/css” href=“./css/index.css”>
- Now, save your “index.html” file.
- Don’t forget to test your code. Begin by right-clicking on the “index.html” in your project explorer. Then, select “Open With” > “Web Browser”.
- Your web page should now have a matching header and footer as in the image displayed above.
Modify index.html to Add Element Specific Style:
Finally, we are going to directly modify some of the element’s style in the “index.html”. These changes are not reusable as the code will be directly inside the element’s style attribute.
In this example, we will be addressing the following:
- contact menu option,
- div wrappers for the banner
- caption sections of the page.
The styling changes will include the following:
- Wrap the banner and quote elements inside a <div> wrapper. Then, set the element types for overflow and page position. To do this we need to place the elements inside this code:
<div style=”overflow: hidden; position: relative;”>
<!– Place the elements inside this code: –>
</div>
- Next wrap the caption one and two elements inside a <div> wrapper. Then we will need to set the element types for overflow, page position, height and width for the captions. To do this we need to place the following style inside this code:
<div style=”height:200px;width:100%;overflow: hidden; position: relative; “>
<!– Place the elements inside this code: –>
</div>
- Finally, we need to add some class attributes to apply some additional formatting. For instance, the “active” class will change the menu option to a different color indicating which page you are on. As for the “overlap” class, it positions the blockquote to overlay on top of the banner image. Make the following changes in Bold to your “index.html” file:
<a class=“active” href=“./index.html”>
and
<blockquote class=“overlap” cite=“http://rescomp.stanford.edu/~cheshire/EinsteinQuotes.html”>
Add Style to About Page

Create an “about.css” file:
Next, we are are going to modify our “About” page to emulate a resume style format. Begin by repeating the steps for creating an index.css file, but name the file “about.css”. Then, copy and paste the code from the following link into your “about.css” file.
Modify about.html to Add Element Specific Style:
When using CSS to import the about.css into about.html, make sure you use the link tag. Then, compare your code against the following link. Now see what inline alterations you may need to make, to finish customizing this page.
Add Style to Contact Page
Create an “contact.css” file:
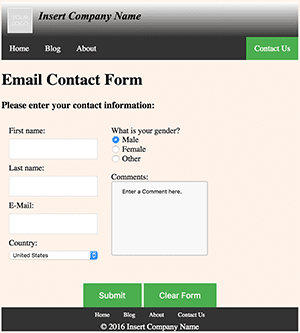
Last, but not least, we need to modify our “contact” page. Here we are going to stack our form element groups side by side. Presenting the user with all the data entry fields together. The benefit of this is to prevent the user from having to scroll.
Begin by repeating the steps for creating an index.css file, but name the file “contact.css”. Then, copy and paste the code from the following link into your “contact.css” file.
Modify contact.html to Add Element Specific Style:
Import the contact.css file into your contact.html file using the link tag. Then, compare your code against the following link. See what inline alterations you may need to make to finish customizing this page.
Comments
Just like in HTML comments are useful for explaining what the style code does. Comments allow developers to include notes that browsers will ignore. This way the user does not have to see a programmers comment. However, you can still see comments by viewing the pages source in a browser. Comments are not mandatory, but most coding practices recommend using them. They are especially helpful when you do not touch a piece of code for extended periods of time. In which case, the comment can serve as a reminder of why this piece of code exists.
Using CSS comments starts with /* and ends with */. Comments can also span multiple lines.
Assignments
- Go back to your marketing site and add some CSS styles.
- Use the global styles example to add a Menu bar at the top of each page for Navigation.
- Experiment, using some inline styling with the <div> tag.
- Start building your company’s color scheme and branding theme.
When you are ready, it is now time to move on to the next step: The Benefits Of Responsive Design.
Further Reading
Outside of additional classes here, we have found these sources to be ideal for learning more about web development:
Check out CSS Properties Reference for some additional CSS property information.
The CSS: The Definitive Guide is another great reference source for CSS.
If you need something to carry with you, the CSS Pocket Reference is a great companion.
[sgmb id=”1″]